Installation
This guide will walk you through installing XPyCode and setting up your development environment.
Prerequisites
Before installing XPyCode, ensure your system meets these requirements:
System Requirements
- Operating System: Windows 10/11 (64-bit) or other platforms (experimental)
- Python: Version 3.9 or higher
- Microsoft Excel: 2016 or later with Office.js Add-in support (365, 2019, 2021)
- Memory: 4GB RAM minimum (8GB recommended)
- Disk Space: 500MB for XPyCode plus additional space for packages
Verify Python Installation
Check that Python is installed and meets the minimum version:
You should see output like Python 3.9.x or higher. If not, download Python from python.org.
Python Installation Tips
- Make sure to check "Add Python to PATH" during installation
- On Windows, use the 64-bit installer for best performance
- Verify
pipis available by runningpip --version
Installing XPyCode
Install XPyCode using pip:
Alternative Launch Methods
You can also launch XPyCode using:
- Windows:
xpycode_master.exein the Scripts directory - Other platforms: Equivalent executable in the Scripts/bin directory
This will install XPyCode and all its dependencies including:
- FastAPI and Uvicorn (web framework and server)
- PySide6 (Qt bindings for the IDE)
- Jedi (Python autocompletion)
- WebSockets (communication layer)
- And other required packages
Installation Time
First-time installation may take 2-5 minutes as pip downloads and installs all dependencies. Subsequent updates will be faster.
Verify Installation
Confirm XPyCode is installed correctly:
Launching XPyCode
Start the XPyCode Server
Launch the XPyCode Master server from your terminal:
You should see output indicating the server has started:
INFO:     Started server process
INFO:     Waiting for application startup.
INFO:     Application startup complete.
INFO:     Uvicorn running on http://127.0.0.1:8000
Server Running
Keep this terminal window open. The server must be running for XPyCode to work in Excel.
Access the Excel Add-in
- Open Microsoft Excel
- Navigate to Home tab → Add-ins → More Add-ins
- Click on Shared Folder tab
- Look for XPyCode in the list
- Click Add to enable the add-in

Add-in Registration
The add-in is automatically registered when you first start the XPyCode server. If you don't see it, try restarting Excel.
Manual Certificate Installation
On non-Windows platforms or if you encounter certificate issues, you may need to manually install the self-signed certificate located in ~/.xpycode/certs (or %USERPROFILE%\.xpycode\certs on Windows).
Manual Manifest Sideloading
For Excel Desktop on non-Windows platforms or Excel for Web, you'll need to manually sideload the manifest file located in ~/.xpycode/manifest (or %USERPROFILE%\.xpycode\manifest on Windows).
Open the XPyCode Console
Once the add-in is loaded:
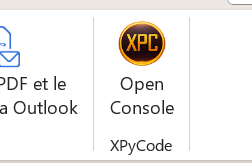
- You'll see a XPyCode tab in the Excel ribbon
- Click Open Console to launch the XPyCode IDE
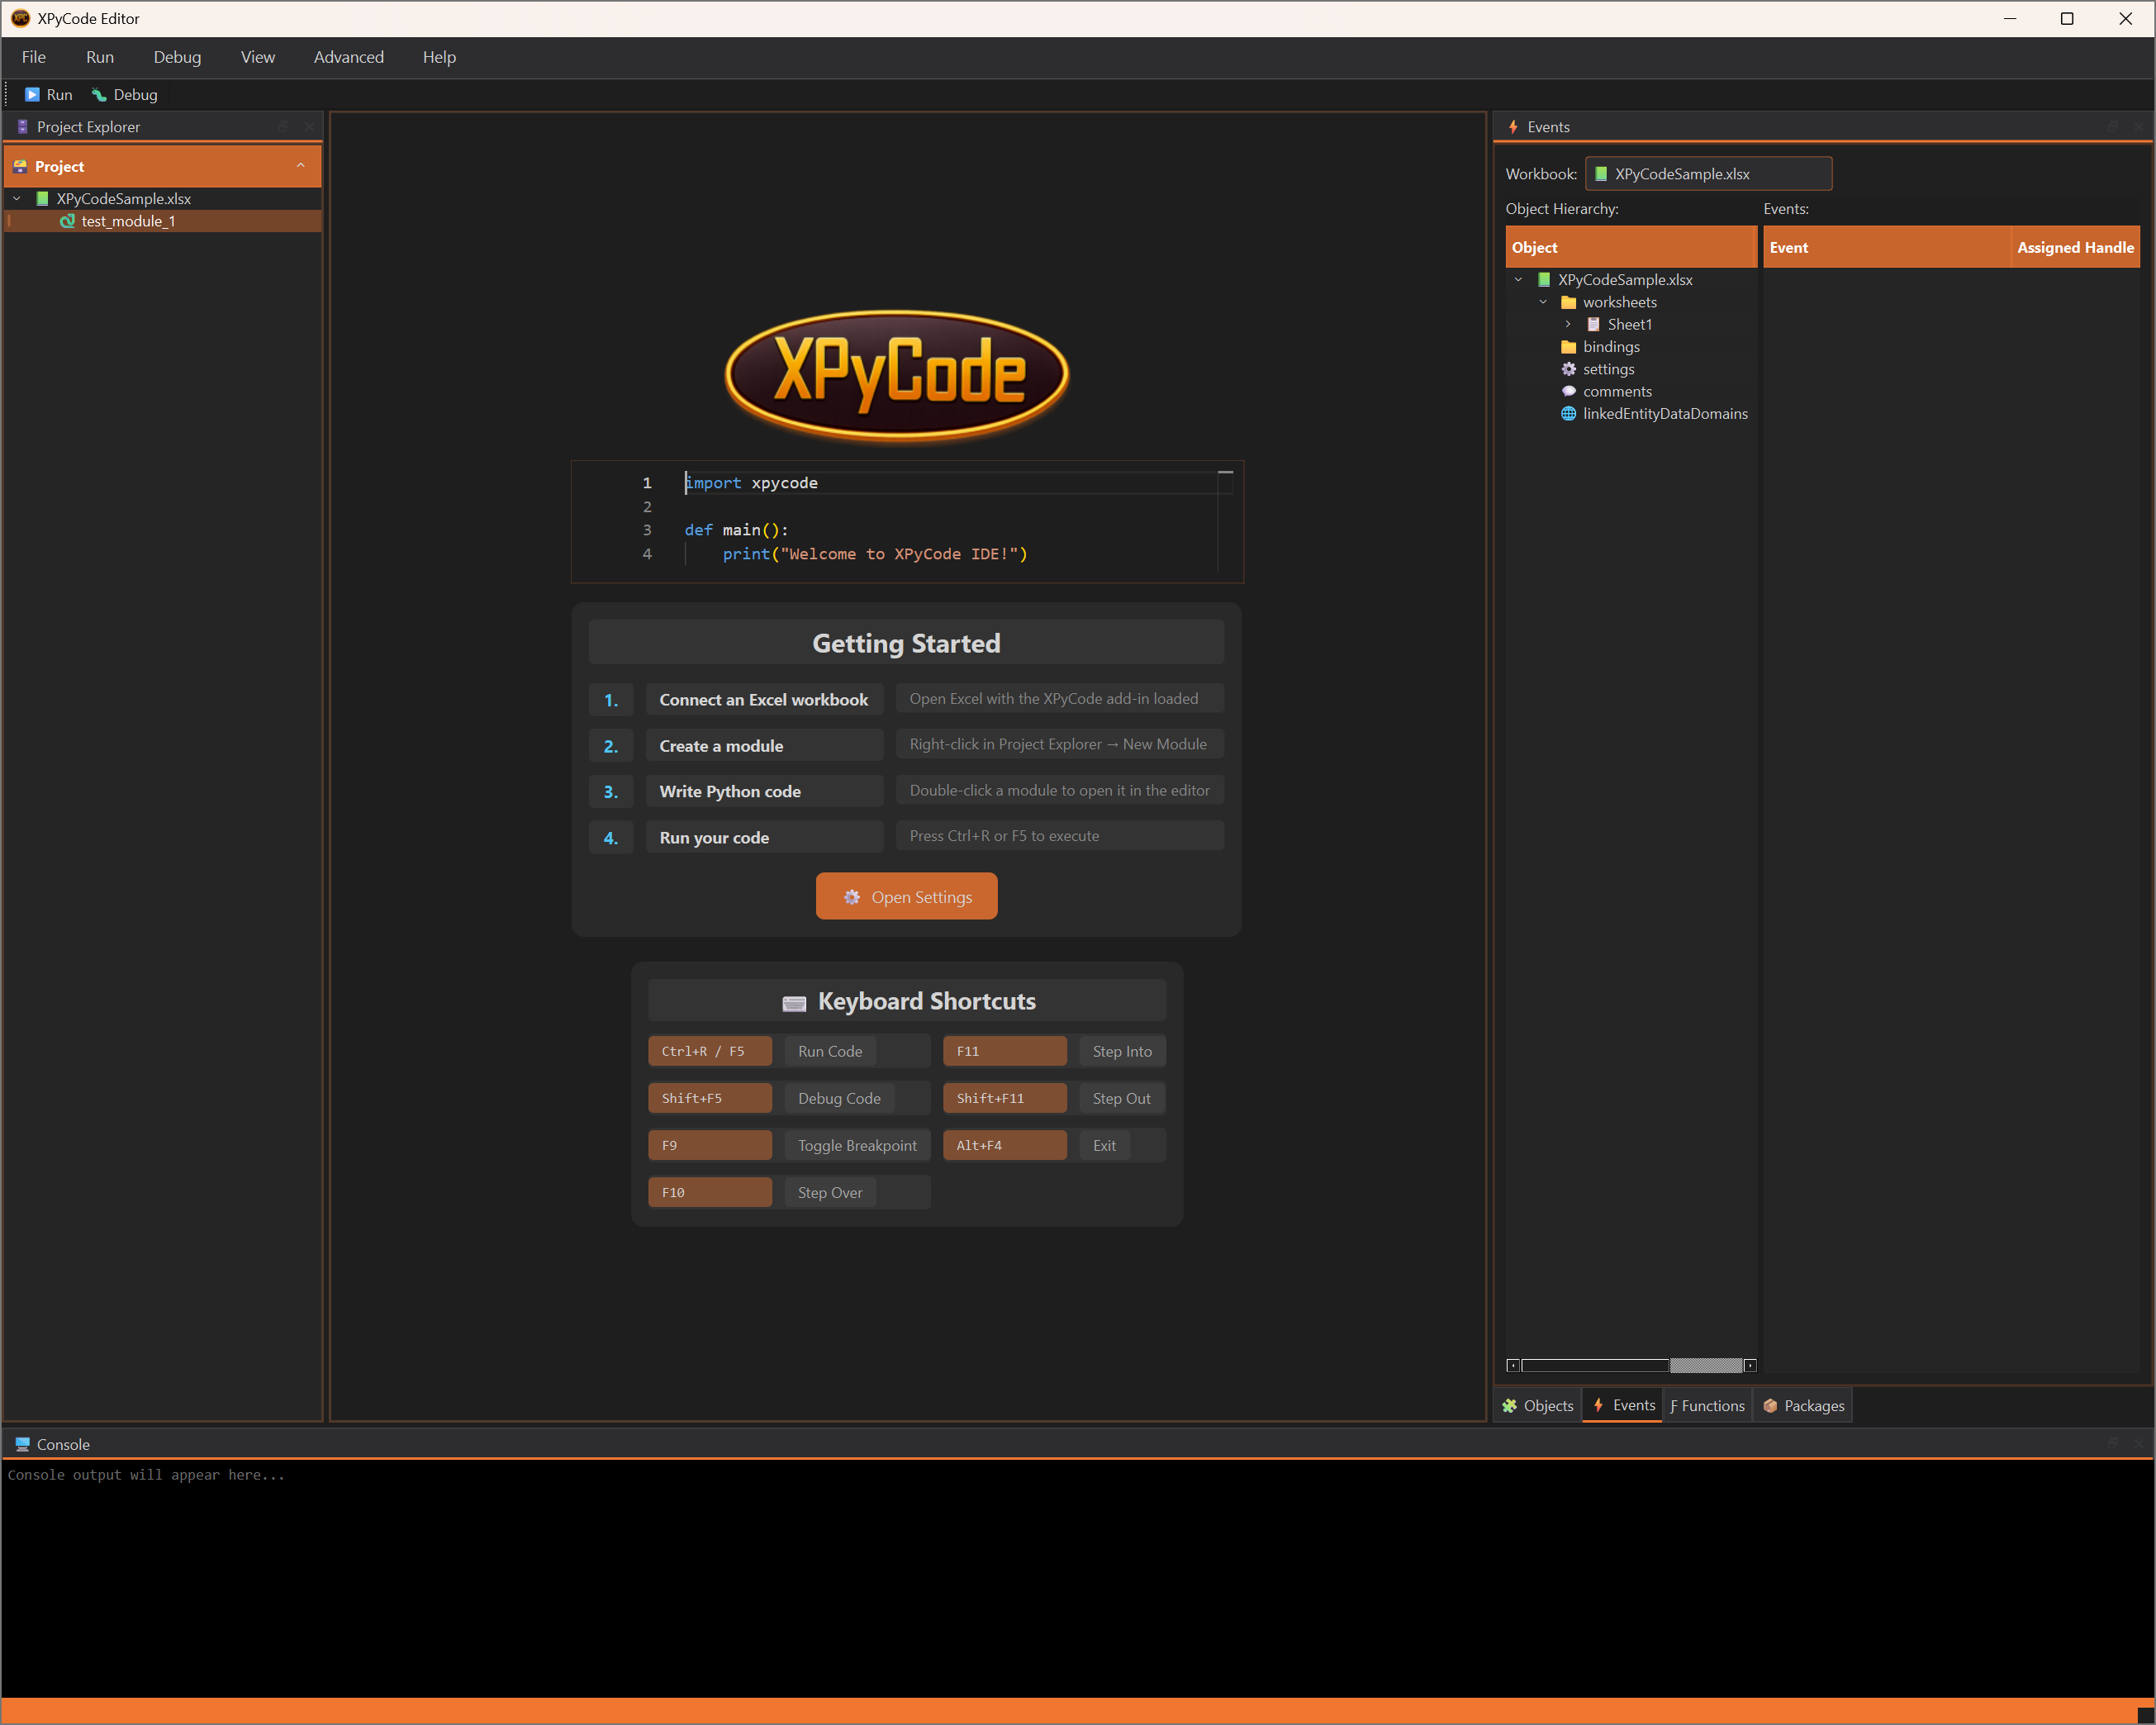
The XPyCode IDE window will open, showing:
- Welcome screen with quick links
- Project Explorer on the left
- Code Editor in the center
- Console at the bottom
- Utilities tabs on the right
Configuration
Default Settings
XPyCode comes with sensible defaults, but you can customize it through File → Settings:
See the Settings guide for detailed configuration options.
First-Time Setup
On first launch, XPyCode will:
- Create configuration directories in your user folder
- Set up the default theme (XPC Dark)
- Initialize the package cache directory
- Register the self-signed certificates for HTTPS protocol (Windows only - manual installation required on other platforms)
- Register the Excel add-in manifest (Windows Excel Desktop only - manual sideloading required for other platforms)
Upgrading XPyCode
XPyCode includes a built-in upgrade command to check for and install updates from PyPI.
Check for Updates
To check if an update is available without installing:
This will display the current and available versions without making any changes.
Upgrade Interactively
To upgrade with a confirmation prompt:
XPyCode will:
- Check PyPI for the latest version
- Display current and available versions
- Ask for confirmation before proceeding
- If running as a service, automatically stop and restart it
- Perform the upgrade using pip
- Verify the upgrade was successful
Upgrade Automatically
To upgrade without confirmation prompts (useful for scripts):
Service Auto-Restart
If XPyCode is running as a system service, the upgrade process will automatically:
- Stop the service before upgrading
- Wait for the process to shutdown cleanly
- Perform the upgrade
- Restart the service automatically
This ensures a smooth upgrade with minimal downtime.
Manual Process Running
If XPyCode is running manually (not as a service), you must stop it before upgrading. The upgrade command will detect this and ask you to close XPyCode first.
Manual Upgrade (Alternative)
You can also upgrade manually using pip:
After updating:
- Close all Excel workbooks
- Restart the XPyCode server
- Reopen Excel
Version Compatibility
Always restart the server after updating. Running an old server with new add-ins may cause compatibility issues.
Addin Hosting Modes
XPyCode supports two modes for running the Excel add-in. Both modes run the Python kernel locally on your machine - only the add-in UI hosting differs.
External Mode (Default)
In external mode, the add-in UI is served from https://addin.xpycode.com. This is the default mode and requires no certificate management. The Python kernel and business layer still run locally.
Local Mode
In local mode, the add-in UI is served from a local HTTPS server on your machine. Requires self-signed certificates.
Mode Switch Cache Clearing
When switching between local and external modes, XPyCode will automatically clear the Office add-in cache. This affects all Office add-ins, not just XPyCode. You may need to restart Excel after switching modes.
Troubleshooting Installation
Python Not Found
If you get "Python not found" error:
- Verify Python is installed:
python --version - Check Python is in your PATH environment variable
- Try using
python3instead ofpython
Pip Installation Fails
If pip install fails with network errors:
# Use a different PyPI mirror
pip install xpycode_master --index-url https://pypi.org/simple

# Or install with verbose output to see what's failing
pip install -v xpycode_master
Add-in Not Appearing in Excel
If the add-in doesn't appear:
- Ensure the XPyCode server is running
- Check Excel trusts add-ins from shared folders:
- File → Options → Trust Center → Trust Center Settings → Trusted Add-in Catalogs
- Restart Excel completely (close all workbooks)
- Manually add the manifest location if needed (check server logs for the path)
Port Auto-Discovery
XPyCode automatically scans for available ports to avoid conflicts. You can override this behavior by specifying ports manually (when using local mode):
# Use a different port with local mode
python -m xpycode_master --use-local-addin --addin-port 8001 --server-port 9001 --watchdog-port 8100
Port Configuration
The --addin-port argument is only used when running in local mode (--use-local-addin). In external mode, the add-in UI is served from https://addin.xpycode.com, so no local addin port is needed.
Then update the add-in configuration to match the new port with Add-ins → More Add-ins → Shared Folder → Refresh
Firewall Issues
Windows Firewall may block the connection:
- Click "Allow access" when prompted
- Or manually add an exception for Python in Windows Firewall settings
Next Steps
Now that XPyCode is installed and running:
- Quick Start - Take a 5-minute tour of key features
- First Function - Create your first Python function in Excel
- User Guide - Explore all IDE capabilities
Need Help?
If you encounter issues not covered here, check the Troubleshooting Guide or open an issue on GitHub.