Quick Start
This 5-minute guide will help you understand XPyCode's core features and workflow.
Launch XPyCode
If you haven't already, start the XPyCode server:
First Launch on Windows
On your very first launch, XPyCode needs to register its Excel Add-in manifest and protocol handler. You have two options:
- Use the Windows installer — the setup wizard takes care of everything automatically.
-
Run the setup command manually — if you installed via
pip, run:This registers the
xpycode://protocol handler and the Excel Add-in manifest in one step.
Once the setup is complete, load the add-in in Excel:
- Open Excel and go to Home → Add-ins → More Add-ins
- Select the Shared Folder tab
- Choose XPyCode and click Add
One-time setup
You only need to do the steps above once. After the add-in is loaded, it will appear automatically every time you open Excel.
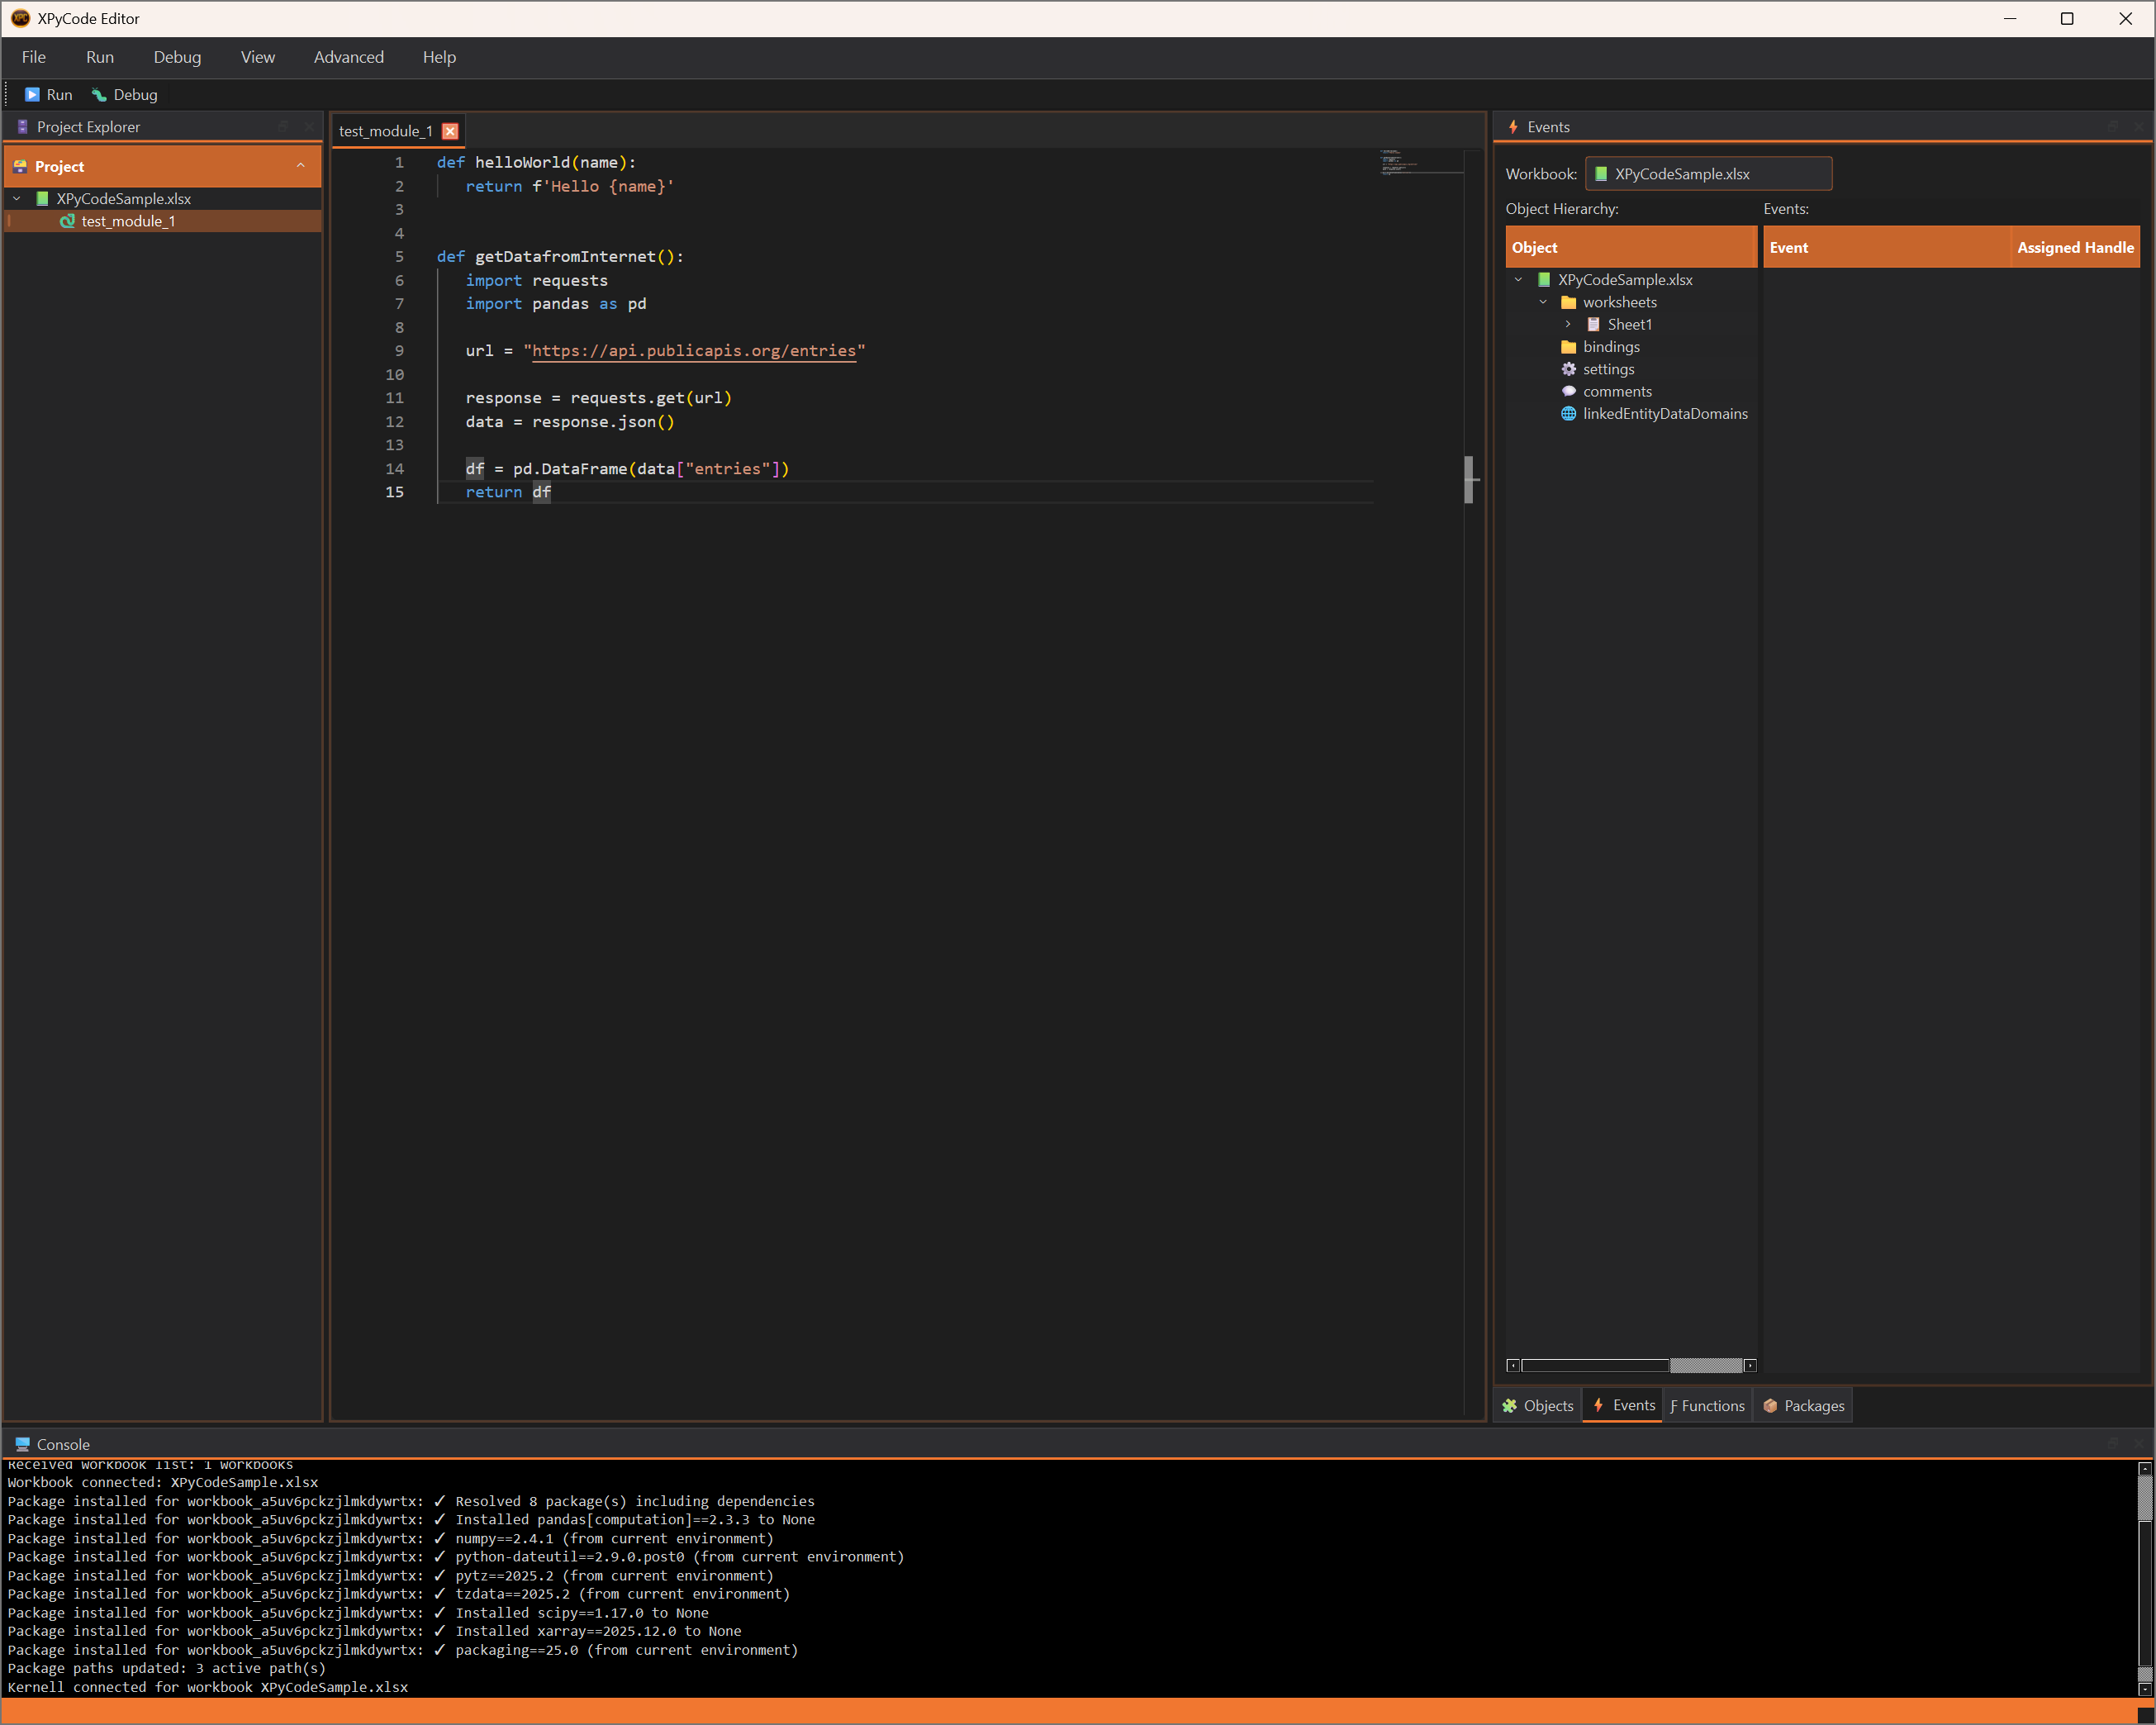
Open the IDE
With XPyCode running and the add-in loaded:
- Click Open Console in the XPyCode ribbon
- Click the <> Editor button to launch the IDE
Create a Python Module
In the Project Explorer (left panel):
- Right-click on your workbook name
- Select New Module
- Name it
hello(don't add a .py exetension)
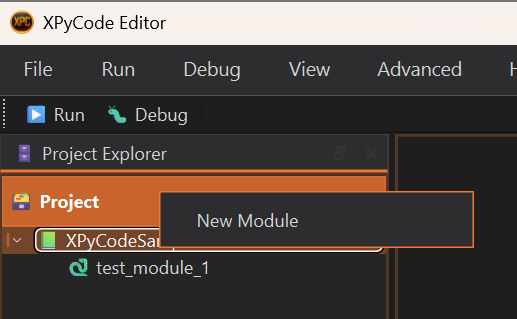
The Monaco editor will open with your new module.
Write Simple Python Code
Type this code in the editor:
def printHelloAndReturnBonjour():
    """Print 'Hello' in console and return 'Bonjour'

    Returns:
        Hard coded 'Bonjour' string (Hello in french)
    """
    print('Hello')
    return 'Bonjour'
IntelliSense Support
As you type, you'll see code completion suggestions. Press Tab or Enter to accept them.
Run Your Code
Execute the code by:
- Pressing F5
- Or clicking the Run button in the toolbar
- Or pressing Ctrl+R
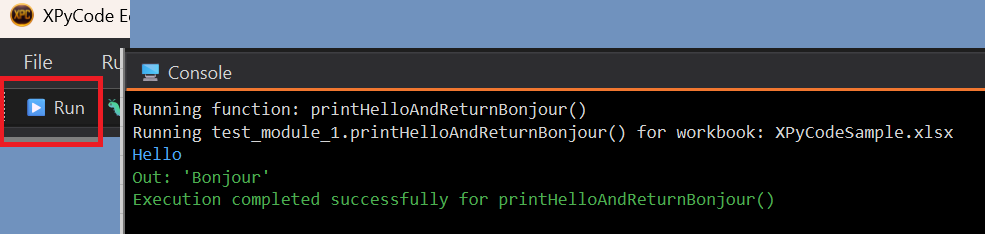
The output appears in the Console panel at the bottom:
Code Executed
Your Python code runs in an isolated kernel attached to your Excel workbook. Each workbook has its own Python environment.
Access Excel Objects
Now let's interact with Excel. Update your code:
import xpycode

def write_hello_to_excel():
    """Write a greeting to the active worksheet."""
    # Get the active worksheet (Office.js method)
    ws = xpycode.workbook.worksheets.getActiveWorksheet()

    # Write to a cell (single cells can use scalar values)
    ws.getRange("A1").values = "Hello from Python!"

    # Read from a cell (returns 2D array)
    cell_values = ws.getRange("A1").values
    print(f"Cell A1 contains: {cell_values[0][0]}")

    # Work with ranges (values is 2D array)
    ws.getRange("B1:B5").values = [[1], [2], [3], [4], [5]]

    # Read and sum the range
    data = ws.getRange("B1:B5").values
    total = sum(row[0] for row in data)
    print(f"Sum of B1:B5: {total}")
Run this code (F5) and watch it interact with your Excel worksheet!
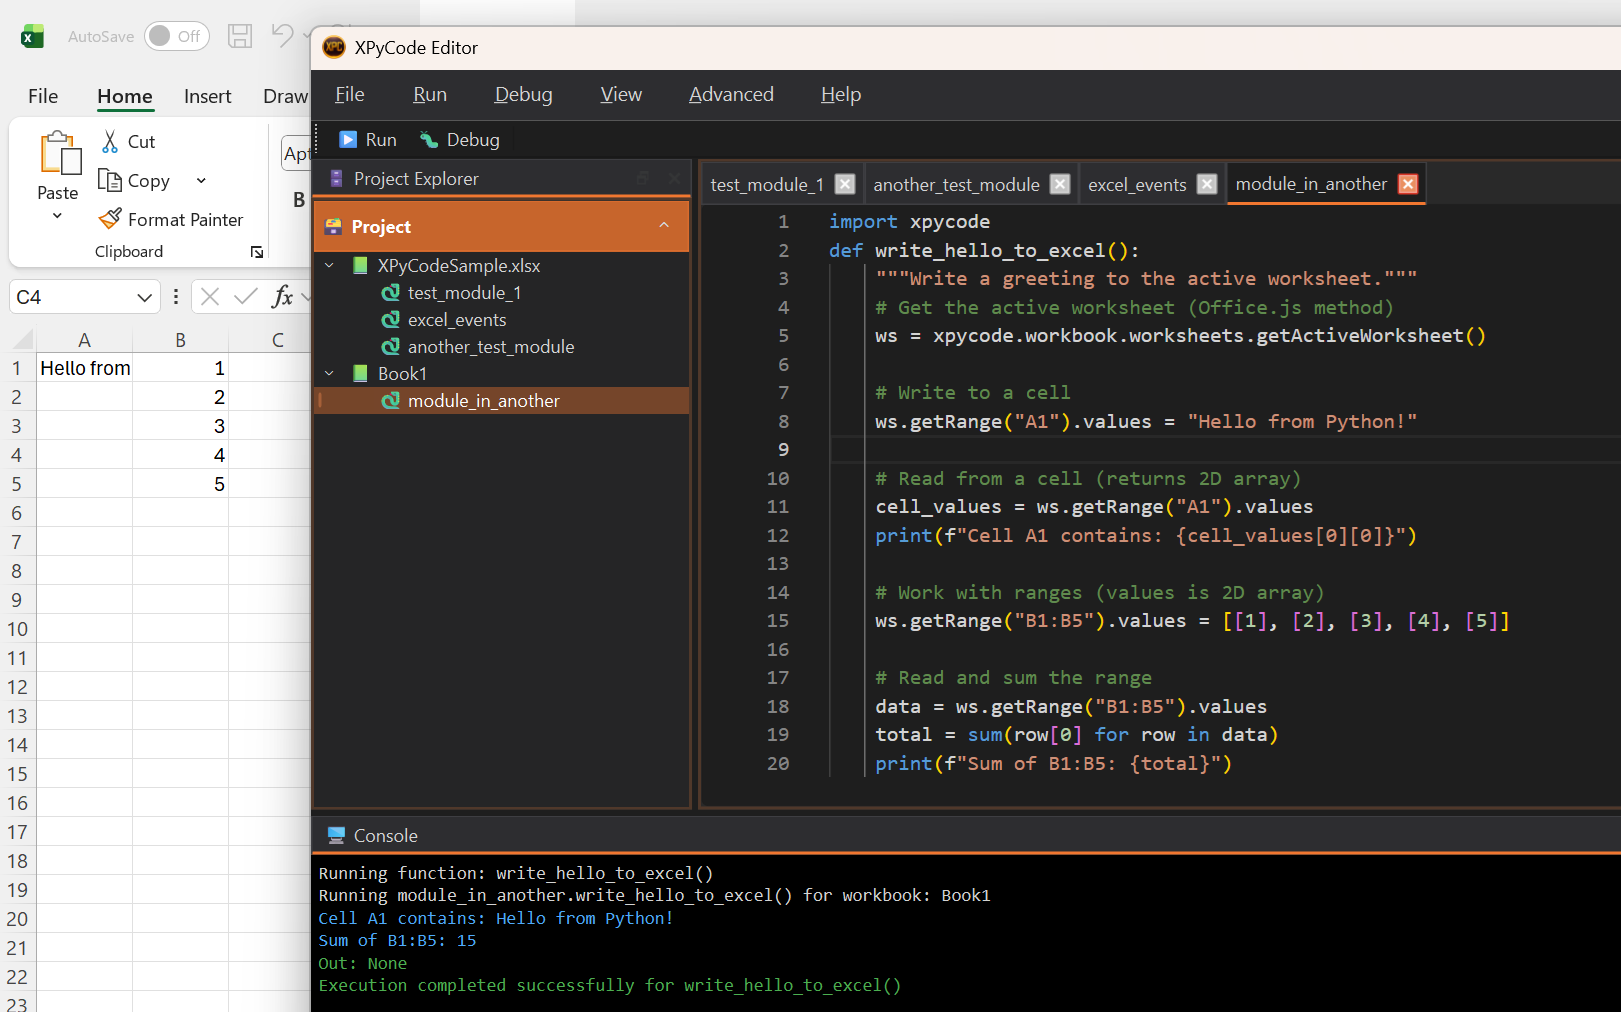
The xpycode Module
The xpycode module is automatically available in your Python environment. It provides access to Excel through an Office.js-compatible API. No context.sync() needed!
Install a Package
Let's install pandas to work with data:
- Click the Packages tab in the left dock
- Type
pandasin the search box in Add Package - Click Search
- Select the latest version
- Click Add to List
- Click Install/Update in Packages
pandas Already Installed
pandas is included in the default requirements, so it's already installed. This example demonstrates the package installation process for other libraries you might need.
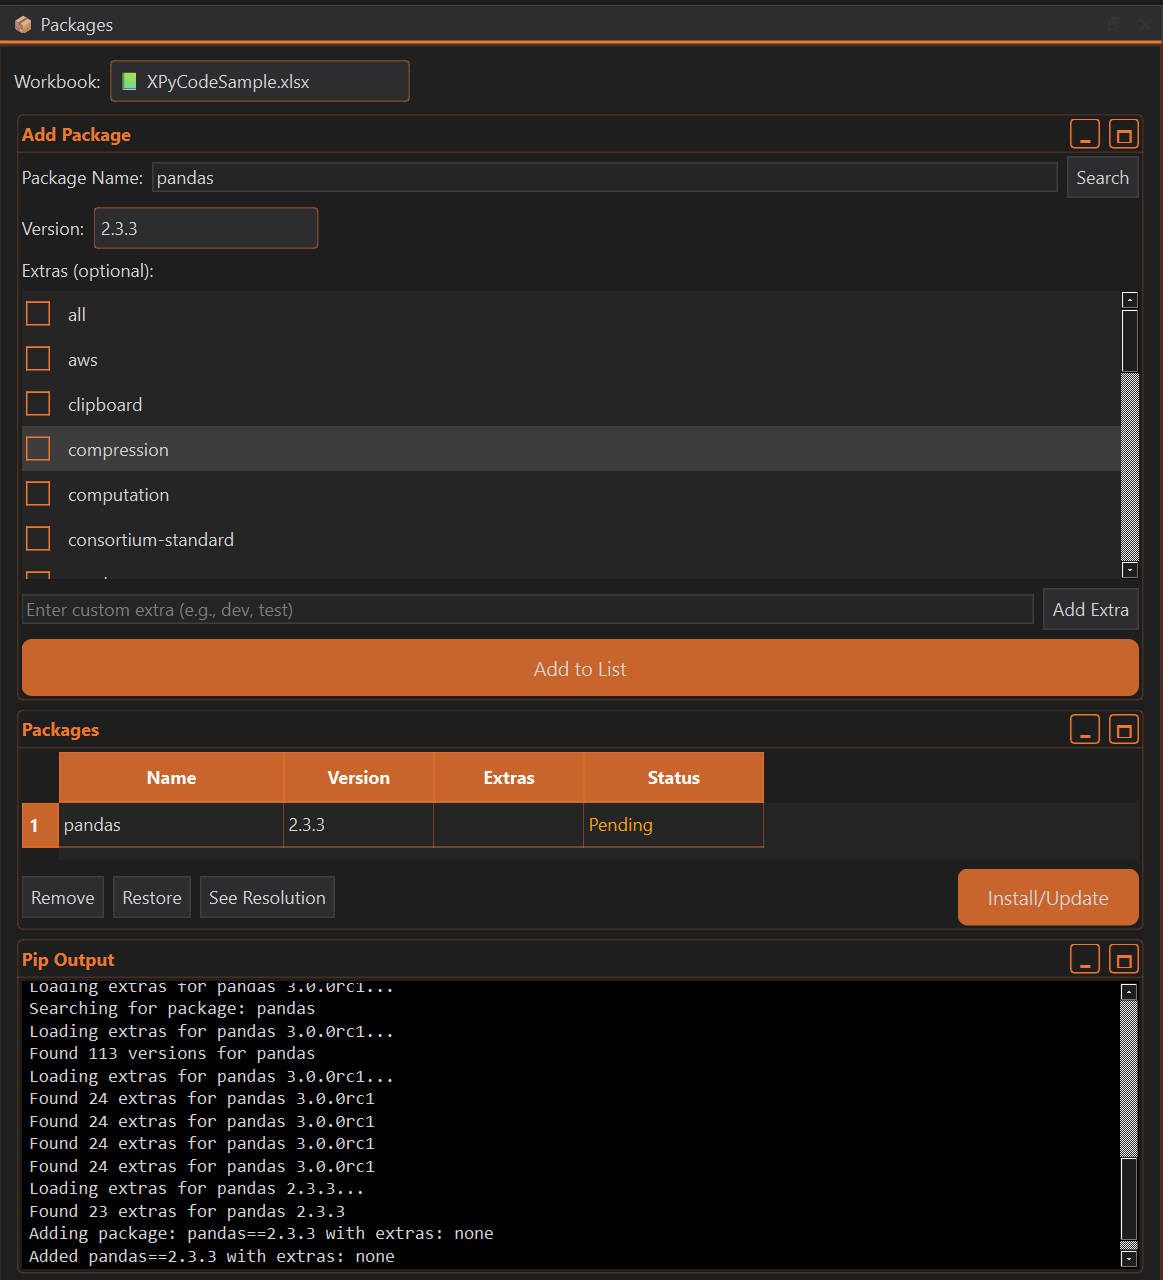
Wait for the installation to complete (you'll see progress in the console).
Per-Workbook Packages
Packages are installed per workbook, not globally. This prevents conflicts between different Excel projects.
Use Pandas with Excel
Now use pandas in your code:
import pandas as pd
import xpycode

def write_dataframe_to_excel():
    """Write a pandas DataFrame to the active worksheet."""
    # Create a DataFrame
    data = {
        'Name': ['Alice', 'Bob', 'Charlie', 'Diana'],
        'Score': [85, 92, 78, 95],
        'Grade': ['B', 'A', 'C', 'A']
    }
    df = pd.DataFrame(data)

    # Write DataFrame to Excel starting at A1 (df is converted to 2D list by xpycode)
    ws = xpycode.workbook.worksheets.getActiveWorksheet()
    ws.getRange("A1").getResizedRange(len(df.index),len(df.columns)-1).values = df

    print(f"Wrote {len(df)} rows to Excel")
    print(f"Average score: {df['Score'].mean():.1f}")
Run the code (F5) to see your data appear in Excel!
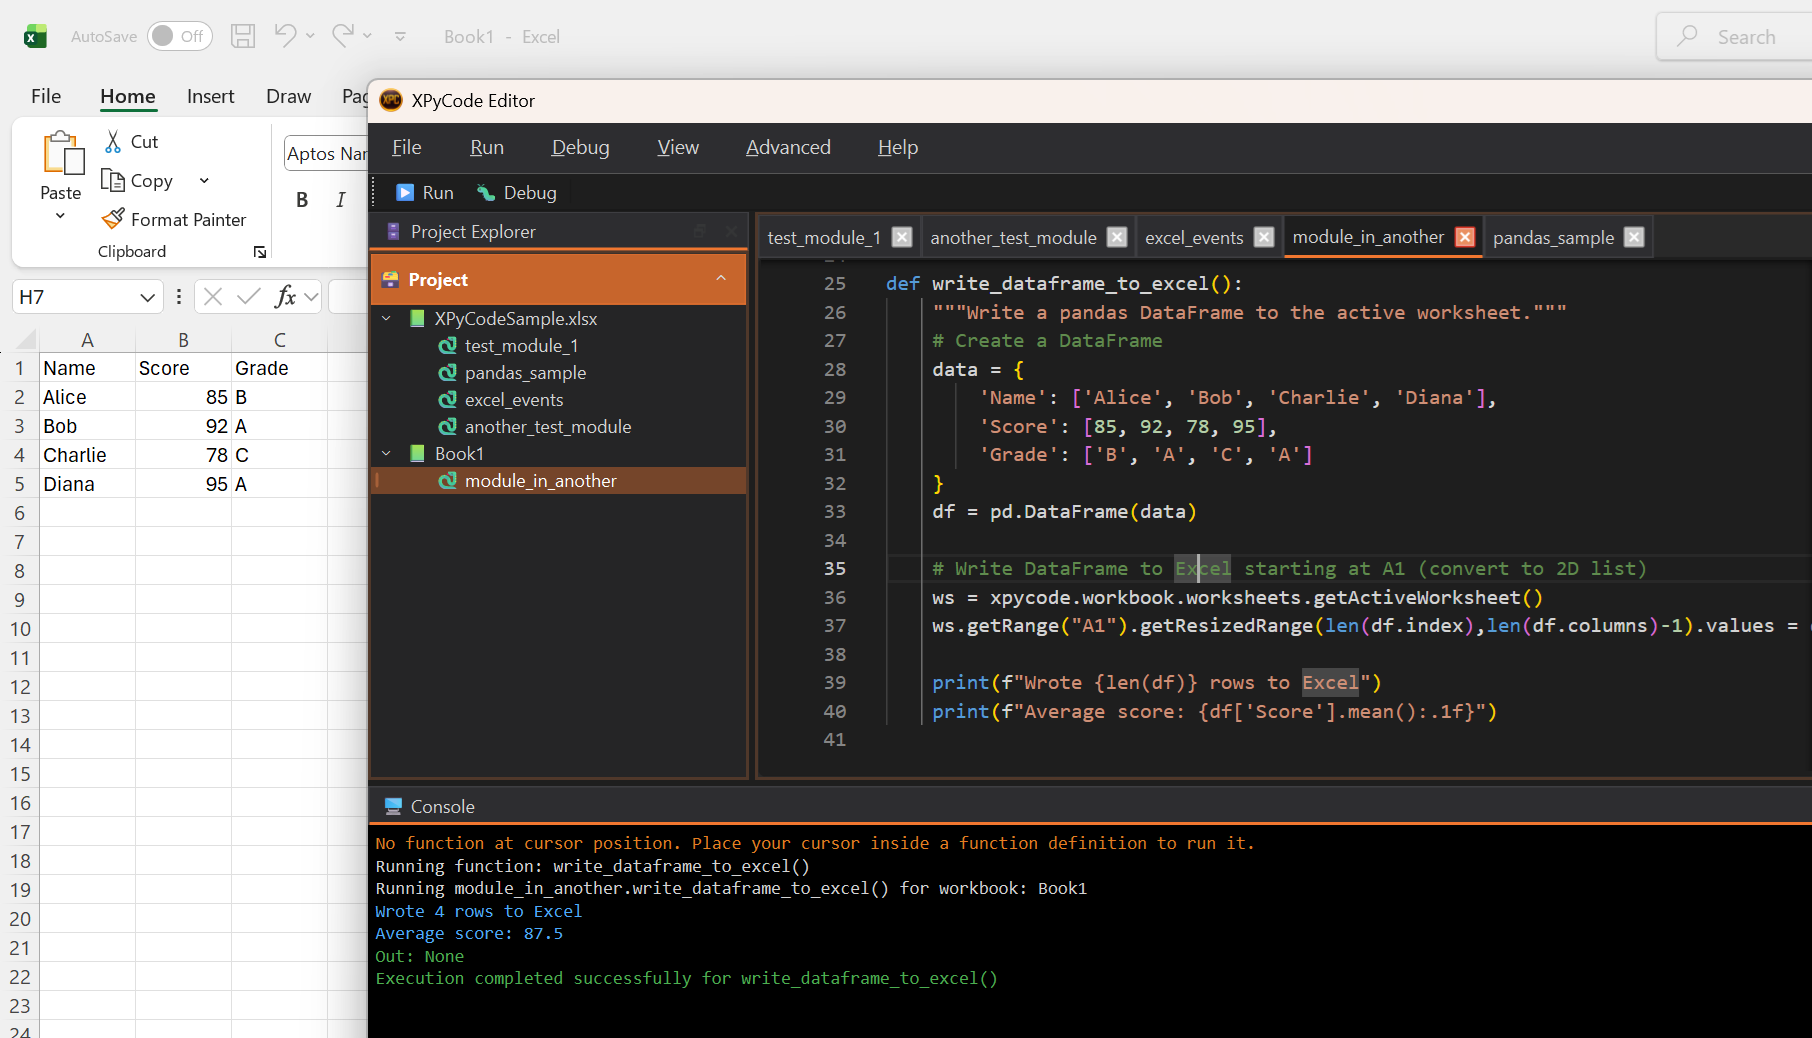
Pandas Conversion
pandas Series and DataFrame objects are automatically converted to 2D arrays (list of lists) when sent to Excel. Column names are included, but index names and values are not.
Debug Your Code
Let's try debugging:
- Click ++f9+ to line 15 of your code (where
df = pd.DataFrame(data)is) - A red dot appears - this is a breakpoint
- Press Shift+F5 to Debug (instead of Run)
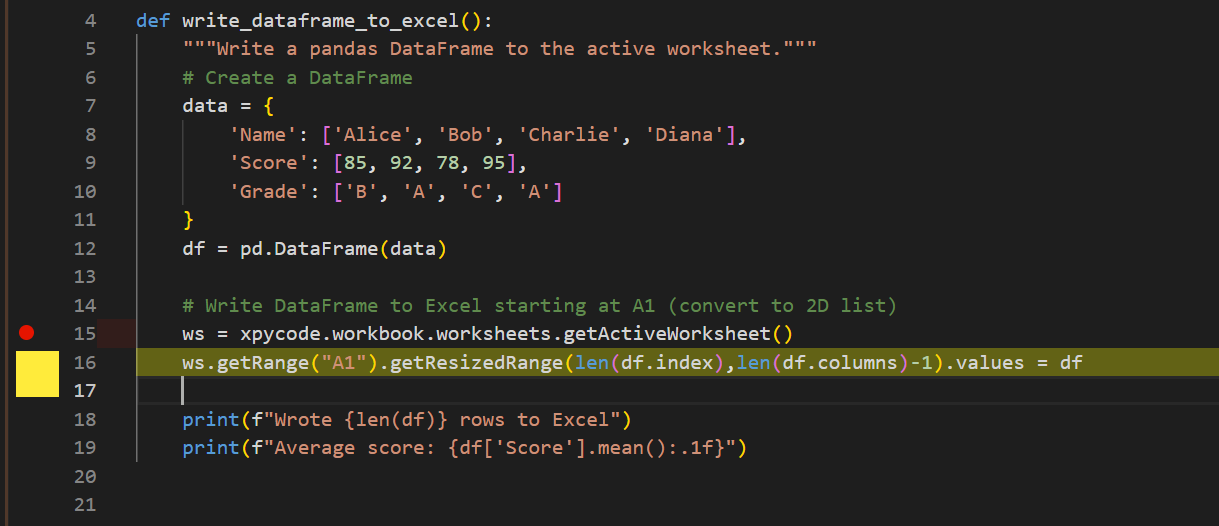
The code execution pauses at your breakpoint. The Debug Panel shows:
- Variables: Current values of
data,df, etc. - Call Stack: The execution path
- Watch: Custom expressions to monitor
Use the debug controls:
- F10 Step Over: Execute the current line
- F11 Step Into: Enter function calls
- Shift+F11 Step Out: Exit current function
- Shift+F5 Continue: Resume execution
Debug Like a Pro
Set breakpoints on lines where you want to inspect state. Use the Watch panel to monitor specific variable expressions.
Publish a Function to Excel
Now let's make a function available as an Excel formula:
def calculate_tax(amount: float, rate: float = 0.1) -> float:
    """Calculate tax on an amount.

    Args:
        amount: The base amount
        rate: Tax rate as decimal (default 10%)

    Returns:
        The tax amount
    """
    return amount * rate
- Click the Functions tab
- Click Add Publication
- Select the module and then
calculate_taxfrom the list - Change the name if you which (default is the function name in capital letter
CALCULATE_TAX) - Set dimension to "Scalar" (it is the default dimension)
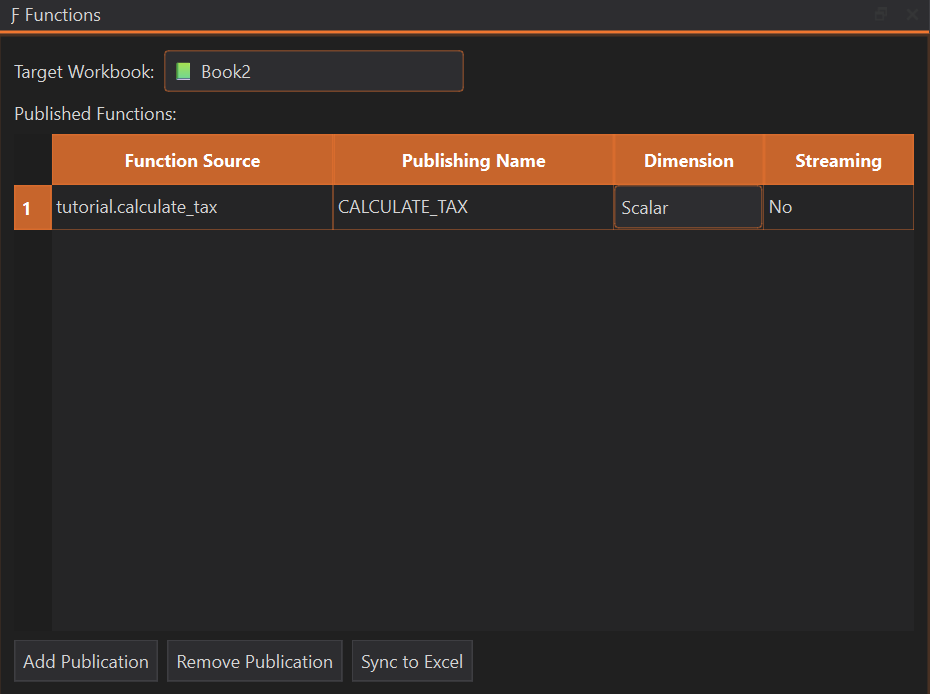
Now you can use it in Excel as a formula:
Custom Functions Created
Your Python functions are now Excel UDFs! They recalculate automatically when inputs change.
Function Publication
Functions are published immediately when added to the list. Code modifications are automatically picked up at the next computation—no need to republish. Use the Sync to Excel button to force resynchronization if you encounter issues or change a function's signature.
Recomputation Impact
Publishing a new function or clicking Sync to Excel forces recomputation of all XPyCode functions in the workbook and reinitializes all streaming functions.
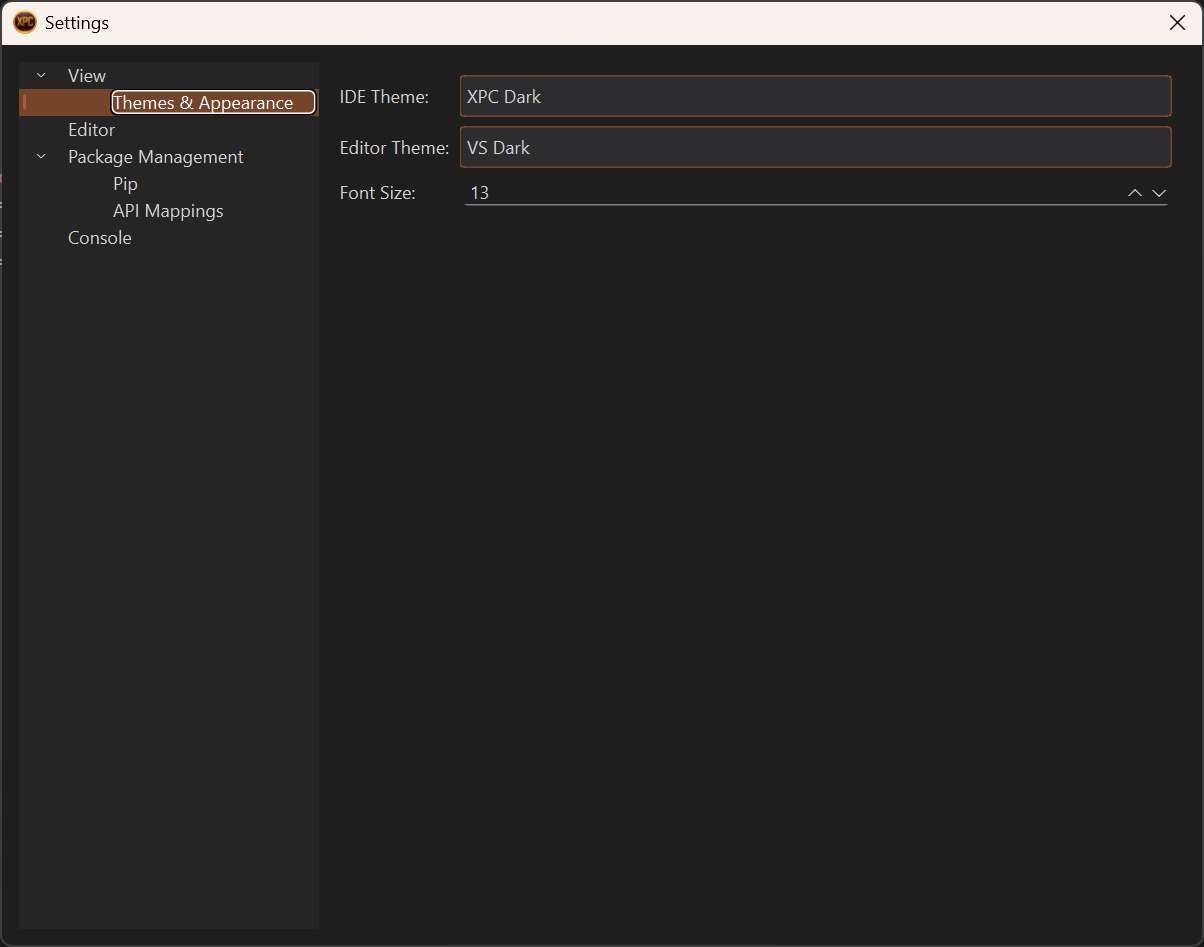
Customize Your Environment
Open settings to personalize XPyCode:
- Go to File → Settings
- Try different themes:
- IDE Theme: XPC Dark / XPC Light / And several other themes to suit your preference
- Editor Theme: VS Dark / VS Light / Plus additional editor themes to match your coding style
- Adjust font sizes
- Configure editor behavior (tabs, word wrap, minimap)
What You've Learned
In just 5 minutes, you've learned to:
- ✅ Create and run Python modules
- ✅ Access Excel objects from Python
- ✅ Install packages (pandas) per workbook
- ✅ Use pandas to work with Excel data
- ✅ Debug code with breakpoints
- ✅ Publish Python functions as Excel UDFs
- ✅ Customize the IDE appearance
Next Steps
Ready to go deeper? Here's what to explore next:
-
Create Your First Function
Learn function publishing in detail with types, dimensions, and streaming.
-
User Guide
Comprehensive guide to all IDE features and capabilities.
-
Tutorials
Hands-on tutorials for real-world scenarios.
-
Keyboard Shortcuts
Master the IDE with keyboard shortcuts reference.
Try This Next
Experiment with Excel events! Use the Event Manager to run Python code when cells change. See the Events Guide.